Weighted vests have become a popular fitness accessory, providing an added challenge to workouts. However, the cost of commercial weight vests can be prohibitive. The good news is that creating your own adjustable DIY weight vest at home is a surprisingly straightforward and cost-effective endeavor. In this post, we’ll guide you through the process, from gathering materials to testing out your custom creation.
Key Takeaways:
- Building your own weight vest at home can cost as low as $50.
- The primary component, a Military Unitary or Tactical Vest, can be found at a reasonable price, especially at army surplus stores.
- Playground sand, duct tape, and freezer bags are the key materials required for creating adjustable weights.
- The DIY weight vest is customizable, allowing you to adjust the weight based on your fitness level and preferences.
- Testing the vest after assembly ensures its functionality and comfort during workouts.
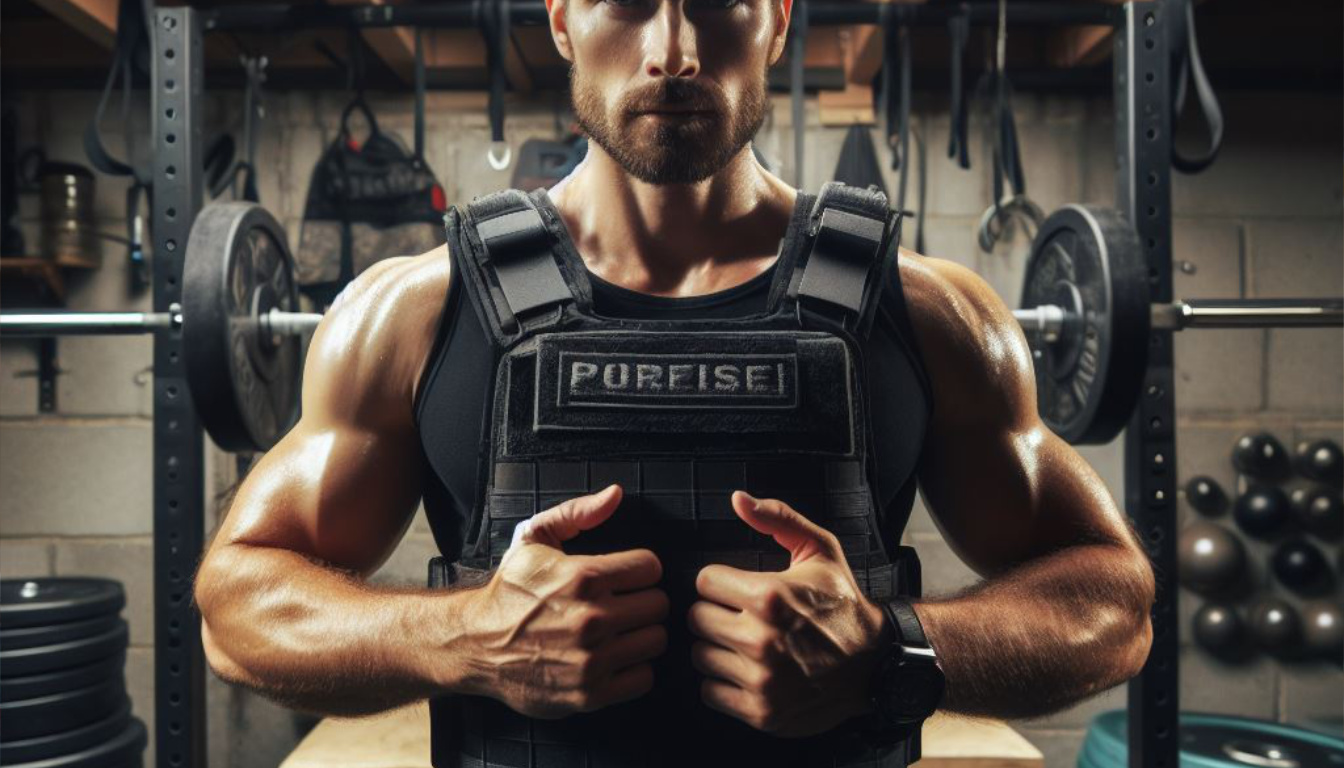
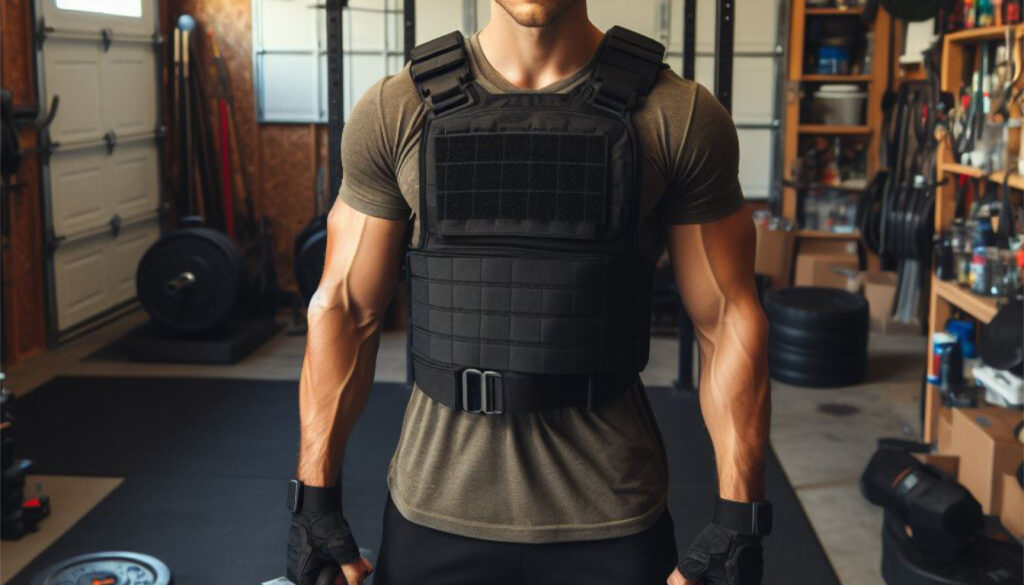
How to Make an Adjustable DIY Weight Vest
Creating your adjustable DIY weight vest involves a simple three-step process. First, gather the necessary materials, including a Military Style Unitary or Tactical Vest, playground sand, freezer bags, duct tape, and a scale. You can source these items online or potentially find them at local stores, such as army surplus shops, Home Depot, or Walmart. The second step involves creating the weights by filling freezer bags with playground sand, weighing them for precision, and securing them with duct tape. Finally, test out your DIY weight vest to ensure it meets your fitness needs.
What You Need:
Step 1 – Buying the Materials to Make a Weight Vest
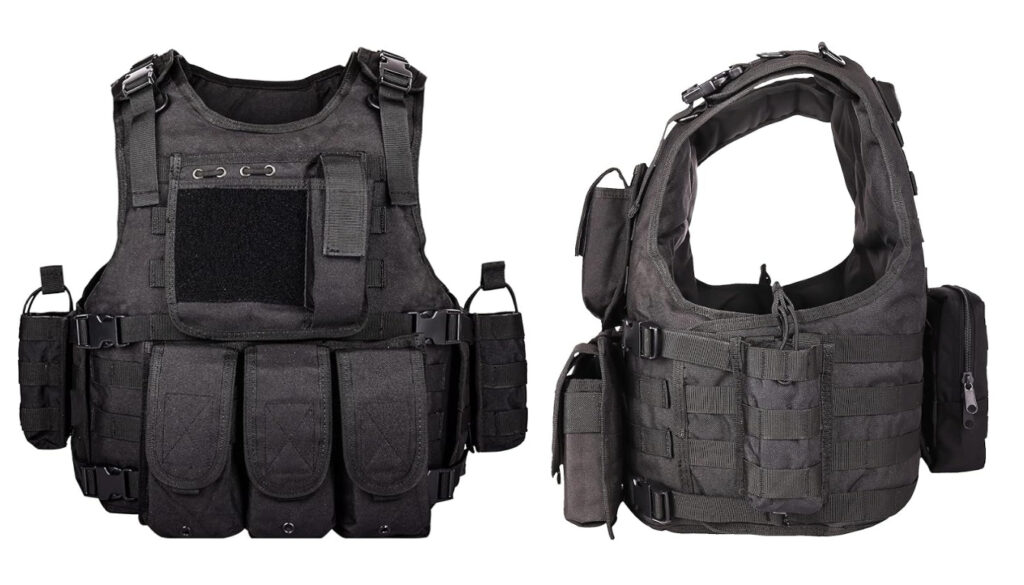
To start your DIY weight vest project, gather the essential materials. The centerpiece is a Military Style Unitary or Tactical Vest, which you can find online or at local stores for a reasonable price. Additionally, you’ll need playground sand, freezer bags, duct tape, and a scale. While you can order these items online, exploring local options such as army surplus stores, Home Depot, or Walmart might help you save some money.
Step 2 – Creating the Weight
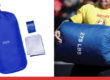
Once you have the necessary materials, it’s time to create the weights for your vest. Using a bag of playground sand, fill each freezer bag, ensuring accurate measurements with a scale. Typically, each bag can hold 2 to 3 pounds. Insert the filled bags into the pockets of your tactical vest, adapting to the pocket configuration. Seal each bag with duct tape to prevent spillage. Repeat this process until you have a weight for every pocket.
Step 3 – Test Out Your DIY Weight Vest
After creating all the weights and ensuring they are securely sealed and fitted into the vest, it’s time for the final step—testing. Wear your DIY weight vest and take it out for a workout. Testing ensures that the vest is comfortable, functional, and meets your fitness requirements.
Important Points:
- Customize the weight of your vest by adjusting the amount of sand in each bag.
- The Military Style Unitary or Tactical Vest serves as a durable and adjustable base for your DIY project.
- Ensure the bags are securely sealed with duct tape to avoid any sand leakage during use.
- Experiment with the weight distribution in the vest to achieve a balanced and comfortable fit.
- Regularly check the vest for wear and tear, and make adjustments as needed.
Closing Summary:
Creating your adjustable DIY weight vest is not only cost-effective but also allows you to tailor the weight to your specific fitness goals. By following these simple steps and utilizing readily available materials, you can enjoy the benefits of a weighted vest without breaking the bank. This DIY approach provides versatility, making it easy to modify your vest as your strength and endurance improve.
FAQs
Where can I find a Military Style Unitary or Tactical Vest at an affordable price?
You can check online retailers or visit local army surplus stores for reasonably priced vests.
Can I customize the weight of my DIY weight vest?
Yes, you can easily adjust the weight by adding or removing sand from the freezer bags.
How do I ensure the weights stay secure in the vest?
Seal each bag of sand with duct tape to prevent any leakage during use.
Are there specific guidelines for weight distribution in the vest?
Experiment with the weight distribution to achieve a balanced and comfortable fit for your workouts.
How often should I check the DIY weight vest for wear and tear?
Regularly inspect the vest for any signs of damage, and make adjustments as needed to maintain its durability and effectiveness.