Moving a treadmill is never easy. Especially if you are going up or down stairs, or to a new house completely. And sometimes the best thing you can do is break down the treadmill to make it easier. So today we’ll be going over how to disassemble the Horizon 7.0 AT treadmill for moving. Taking the instructions from the setup manual and reversing them with instructions and images to make it as easy as possible for you. So let’s get to it!
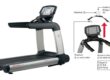
Important: The Horizon 7.0 AT ships with two red transport cables holding the base and tread deck. This is the section that allows your treadmill to fold and uses a high tension spring to help for easy folding. This spring can cause the legs to pop out and cause injury.
“When red transport cables are not installed, transport unit ONLY on the ground, and ONLY after it is fully assembled and in the upright folded position with the lock latch secured.”
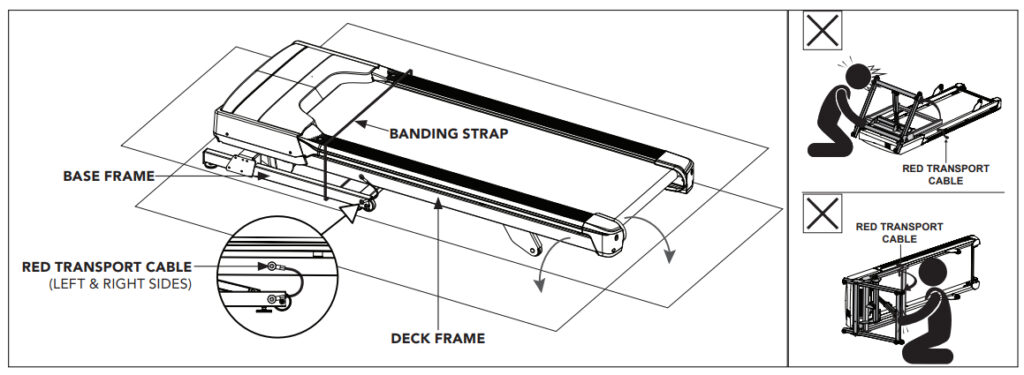
Because of this they say the treadmill should only be moved in the assembled and folded position. If you don’t have the transport cables you should look at purchasing replacements. Or something like this steel door cable tie or a high strength zip tie.
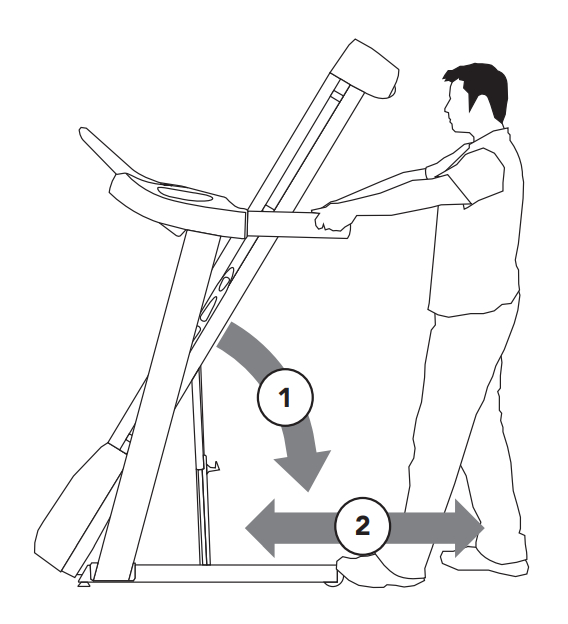
How to Roll / Move the Horizon 7.0 At
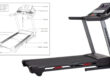
A Step by Step Guide on How to Disassemble the Horizon 7.0 AT Treadmill
Tools Needed
- 6 mm T-Wrench
- 6 mm L-Wrench
- 5 mm L-Wrench
- Screwdriver
Step 1. Attach Red Transport Cable
* Do not skip this step. If you want to completely disassemble the Horizon 7.0 AT this is an important step. If you do not have the red transport table, make sure you two use high strength zip ties, steel street ties, or a steel door stop.
Attache the red transport cables. One on the left and red side of the treadmill.
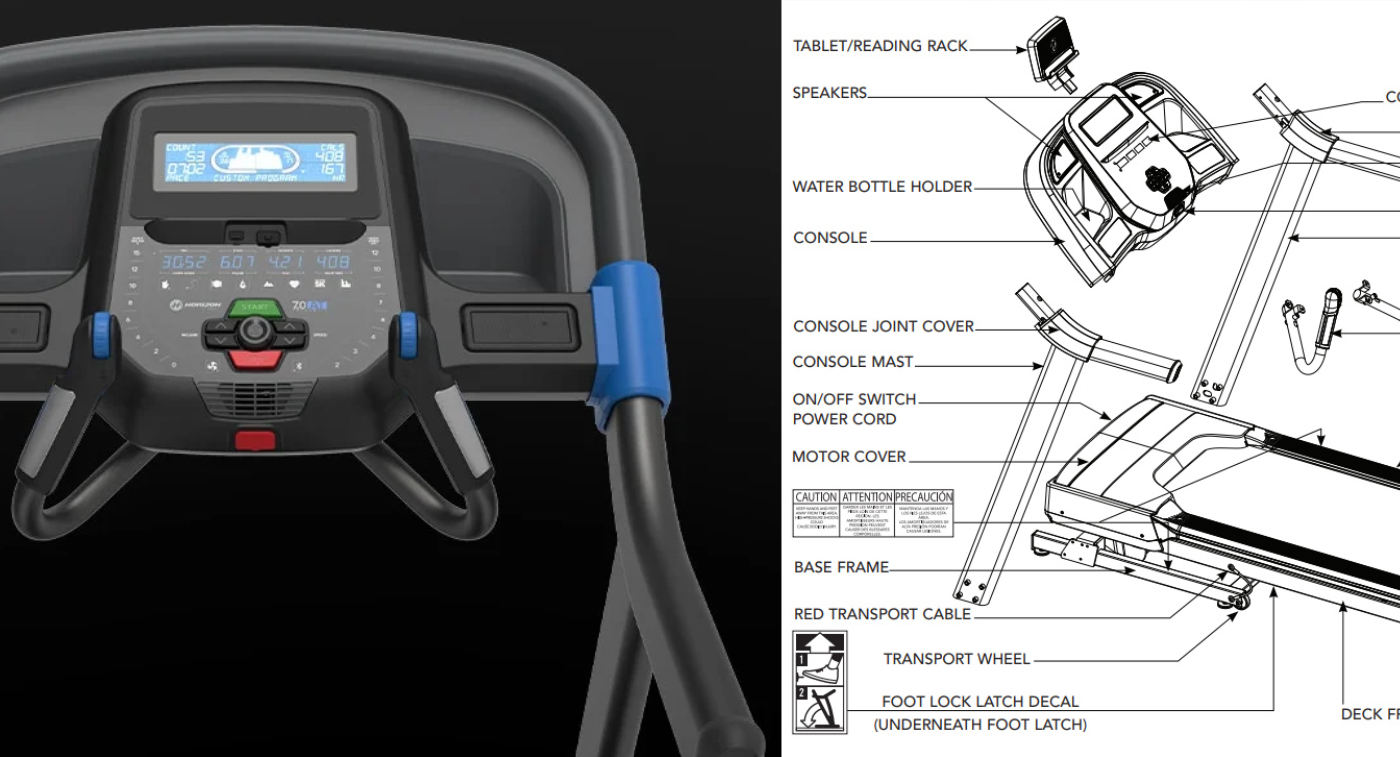
Step 2. Remove Tablet Holder

The tablet holder (14) is connected to the main console (5) with three bolts (L). Use the screwdriver to remove the three bolt and tablet holder.
Step 3. Remove Left and Right Hand Pulse Sensors
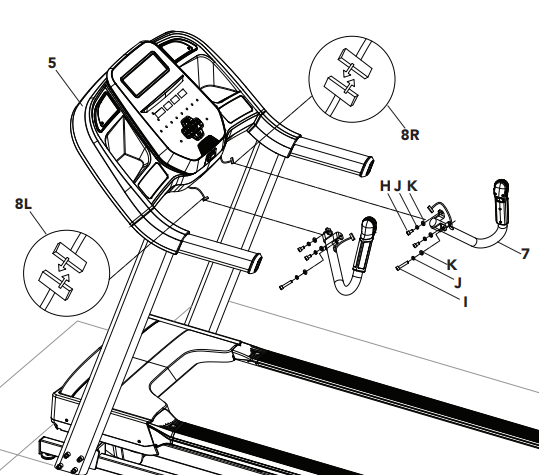
Both the left and right hand pulse sensors (7) from the main console (5) with three bolts and three washers. They consist of two smaller and one larger bolt. They are also connected to the console with a wire that you will need to detach. Use a wrench to remove the bolts and make sure to detach the cables before pulling the sensors away.
Step 4. Remove the Console from the Base
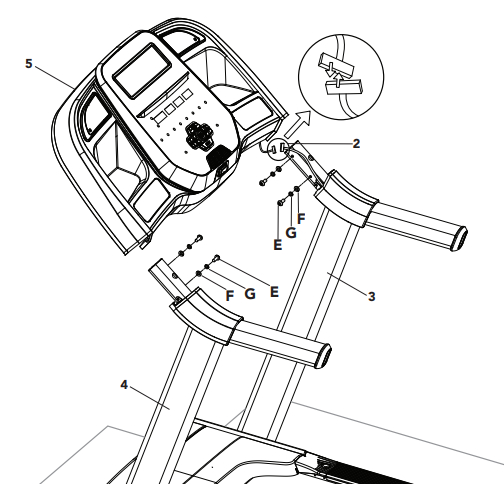
Note: For this next step it helps to have someone there to help hold the console while you are detaching it. It is connected with a cable. So once you follow the steps to remove, you will need to be careful not to pull the cable too far before detaching. This is a lot easier with help.
The main console (5) is attached onto the treadmill’s support pillars (3 & 4) with four bolts (E) and eight washers (G & F). Two on each side. The console is also connected to the right pillar with a cable. You will need to detach this. Use the t wrench to unscrew the main console. Carefully disconnecting the cable and then setting the console in a safe place.
Step 5. Disconnecting Left and Right Support Pillars from the Tread Platform
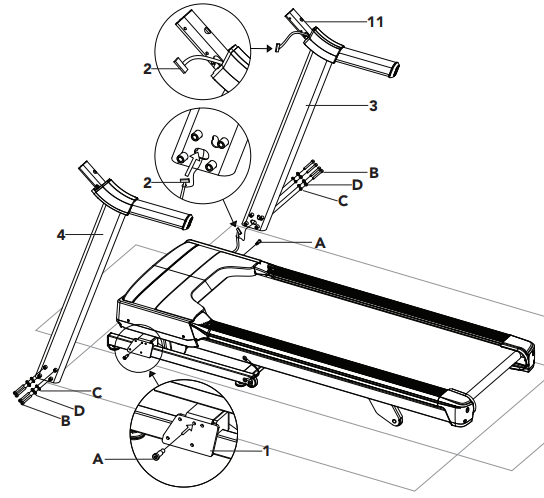
Both the right (3) and left (4) support columns are connected to the tread base with four bolts (B), four washers (D), and four washer springs ( C). Before unscrewing these, it should be noed that there is a cable running down the left support rail (3) that will need to be removed after it is unscrewed. Because of this, it’s important to keep the rail close to the base until you can run the cable down through.
Tip: Tie a string to the end of the wire so that when you run it through the upright rail, you run the string with it. The taping one end of the sting to the outside of each end. So when you want to re-run the cable through the upright, you can tie the string to the cable and pull it through easily.
Now unscrew the 4 bolts from the right hand rail. Remove slowly, and run the cable (with string) through the support columns.
Repeat this for the left side. Minus the cables.
Before moving the treadmill make sure the transport cables are in place. And take them into account when moving the base.
And that’s how to disassemble the horizon 7.0 on the treadmill for moving!